Jens Pind's Linkage Chainmaille Instructions
- Bracelet
- Chain Weave
- Jens Pind's
- Journeyman Project
- Project
You'll need
- Jens Pind’s Bracelet Kit: enough 12g rings for 10" of chain, plus a large infinity clasp
- or the Jens Pind’s Bracelet Kitpack: rings only, for refills or if you already have a clasp
- or Jens Pind’s inchpacks in the size you want (see the ring chart below)
- Prerequisite: know Double Spiral 4-in-1 first (Intermediate Weave kit)
- Two pairs of smooth-jawed jewelers’ pliers
- A twisty tie to hold the start of your chain
- Opening and closing rings new to you? Read How to Make Chainmaille Jewelry first (free)
About this weave
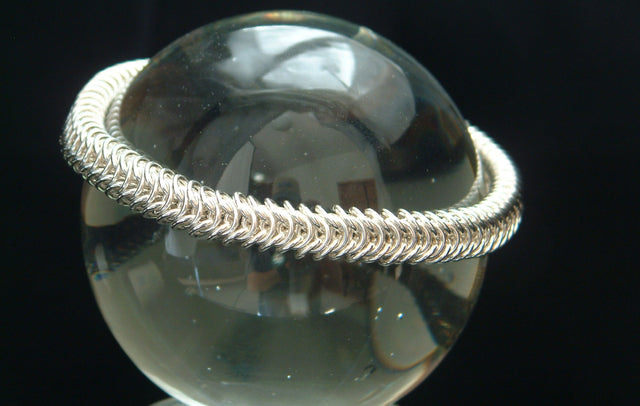
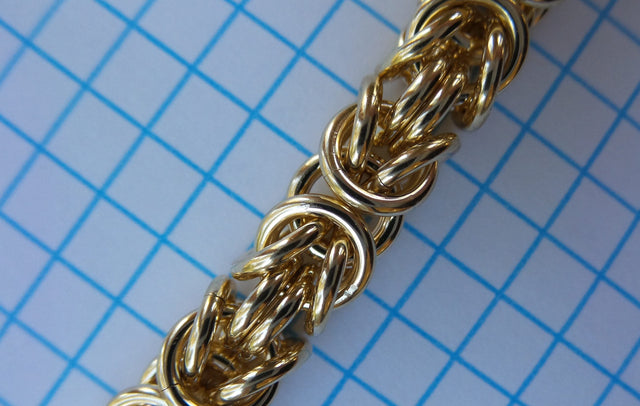
Jens Pind’s Linkage is a Journeyman Project, and it’s a notoriously difficult weave. Project tiers build on weaves you already know: before you start, you should know Double Spiral 4-in-1 (taught in our Intermediate Weave kit). These instructions don’t teach spiral chain. The pattern for Jens Pind’s Linkage is identical to single spiral 4-in-1, but the small aspect ratio of the rings results in a completely different look, and the tight rings require two alterations in the usual method of weaving spiral chain.
2. Screw the rings in. Because the fit is so snug, each ring must be screwed or turned into the pattern. It feels awkward at first and you might think the rings don’t fit. They do, but just barely. If you can’t fit a ring where it’s supposed to go, make sure the ring is open wide enough and review the pictures that show the necessary angle of entry. Once you get it, it becomes very natural and easy to just hook the rings into place.
The kit contains stiff, heavy rings. The metal is very strong, so it isn’t necessary to push the ends past each other to create tension; just slide them gently closed in one smooth motion.
Weaving Jens Pind’s
Step 1. Open and close your rings
Open at least a dozen rings to start, to about the same degree the ring is opened in photo 5. Close one ring and put a twisty tie through it so you have something to hold onto.
Step 2. Link the first three rings
Begin by linking a second ring (photo 1), turning it clockwise as far as it will go (photo 2), and linking a third ring through both (photo 3).


Step 3. Add the fourth ring
Turn the last ring clockwise as far as it will go (photo 4) and put an open ring through the last two rings in the chain (photo 5). When you have four rings in your chain, it should look like photo 6.


Step 4. Make a space for the next ring
Turn the last ring clockwise as far as it will go and hold your little chain in the same position shown in photo 4, except of course it now has four rings instead of three. This is the point at which precision placement begins.
While still holding the last ring rotated with your pliers, push up the third ring back in the chain with your thumb to make a space beneath it (photo 7). That space is where you will insert your next ring (photo 8).


Step 5. Fit and twist in the new ring
Notice the angle at which the new ring is held in photo 9. The new ring must first be fitted over the last two rings in the chain, so that those two rings are inside the open ring.
Then the end of the open ring is moved into the space created with your thumb (photo 8). The ring is then turned into that space with a twisting motion, as shown in photo 10, and closed.


Step 6. Find the entry point and repeat
To find the entry point for the next ring, always hold the last ring rotated clockwise with your pliers and roll the chain until you see the place where the last two rings in the chain closely overlap, as circled in photo 11. That’s the top of the working end of the chain.
Turn the chain one quarter clockwise from there, push up the third ring back with your thumb and you’re ready to insert the next ring in the spot marked in photo 12. Repeat these two moves (photos 11 and 12) to continue adding rings until the chain is the length you like.


Step 7. Attach the clasp
Attach the clasp’s soldered rings to the first and last rings of your chain. At this point, you might want to take a moment to congratulate yourself for mastering such a notoriously difficult weave.
Ring sizes for Jens Pind’s
The bracelet kit is woven in 12g rings. We chose that size because it’s the perfect aspect ratio for Jens Pind’s, and the sheer size of the rings makes the weave much easier to learn than it would be with smaller rings, despite the obvious issue of hand fatigue. These are the sizes we cut for this weave. Each inchpack holds all the rings for one inch of chain.
| Wire gauge (AWG) | Mandrel size | Wire shape | Rings per inch | Inchpack |
|---|---|---|---|---|
| 10g | 7.0mm | Round | about 7 | Jens Pinds RD 10g Inchpack |
| 12g | 5.75mm | Round | about 10 | Jens Pinds RD 12g Inchpack |
| 14g | 4.75mm | Round | about 11 | Jens Pinds RD 14g Inchpack |
| 16g | 3.75mm | Round | about 13 | Jens Pinds RD 16g Inchpack |
| 18g | 2.875mm | Round | about 21 | Jens Pinds RD 18g Inchpack |
| 20g | 2.375mm | Round | about 23 | Jens Pinds RD 20g Inchpack |
| 22g | 1.75mm | Round | about 32 | Jens Pinds RD 22g Inchpack |
| 24g | 1.5mm | Round | about 42 | Jens Pinds RD 24g Inchpack |
| 26g | 1.125mm | Round | not listed | Jens Pinds RD 26g Inchpack |
| 16g | 4.5mm | Square | not listed | Jens Pinds SQ 16g Inchpack |
| 18g | 3.5mm | Square | not listed | Jens Pinds SQ 18g Inchpack |
| 20g | 2.75mm | Square | not listed | Jens Pinds SQ 20g Inchpack |
| 22g | 2.25mm | Square | not listed | Jens Pinds SQ 22g Inchpack |
| 24g | 1.75mm | Square | not listed | Jens Pinds SQ 24g Inchpack |
| 20g | 2.5mm | Diamond | not listed | Jens Pinds DI 20g Inchpack |
Sizes are gauge / mandrel size. The actual inside diameter runs slightly larger than the mandrel because the wire springs back after winding. Inchpacks come in sterling, silver-filled, yellow gold-filled, rose gold-filled and Argentium.
Troubleshooting and tips
- A ring won’t fit: make sure it’s open wide enough and check the angle of entry in photo 9. It fits, but just barely.
- A kink in your chain: stop weaving and check your last few rings before you go on. Mistakes can’t be corrected once you’ve moved past them.
- Lost your place: hold the last ring rotated clockwise and roll the chain until the last two rings closely overlap (photo 11). That’s the top of the working end.
- Aspect ratio matters: the relationship of wire thickness to ring diameter is always a factor, but never more so than with this weave, which only works within a very narrow range. Stick to the sizes in the chart.
- Tired hands: the heavy 12g rings are easy to see and handle but stiff. Take breaks; there’s no need to force the ends past each other when closing.
FAQ
What is Jens Pind’s Linkage?
A dense, rope-like chainmaille chain. Its pattern is the same as single spiral 4-in-1, but it’s woven in rings with a small aspect ratio, so the chain is tight and solid with a completely different look.
Do I need to know another weave first?
Yes. Jens Pind’s is a Journeyman Project, and project kits build on weaves you already know. You should know Double Spiral 4-in-1 before you start; our Double Spiral 4-in-1 Bracelet Kit teaches it from scratch. If you don’t know the required weave, you might not be able to complete this project until you’ve learned it.
Why won’t my rings fit?
They do fit, but just barely. Open the ring wide enough, fit it over the last two rings first, then twist it into the space you made with your thumb.
Can I fix a mistake later?
Not easily. In this weave a misplaced ring is impossible to correct once you’ve moved on, so check each ring as you go.
What ring size should I start with?
The kit uses 12g rings because the large size makes the weave easier to learn. Once you know the weave, scale down gradually.
How much chain does the kit make?
The Jens Pind’s Bracelet Kit includes enough 12g rings for 10 inches of chain.
Next weave
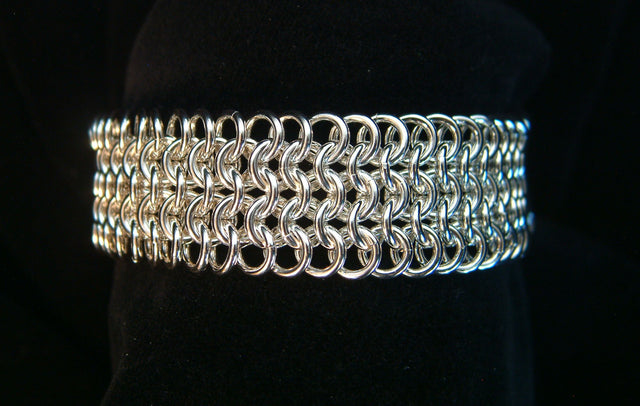
Looking for another chain to try? Explore Double Spiral 4-in-1, Half Persian 4-in-1 or European 4-in-1. Refills for this kit are available as the Jens Pind’s Bracelet Kitpack.
© 2003–2008 Urban Maille, Inc.® All Rights Reserved.