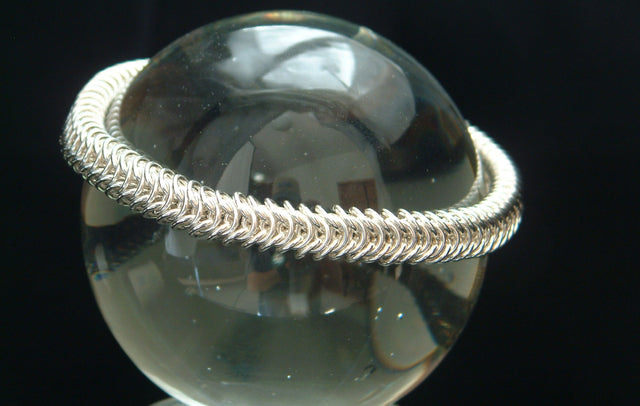
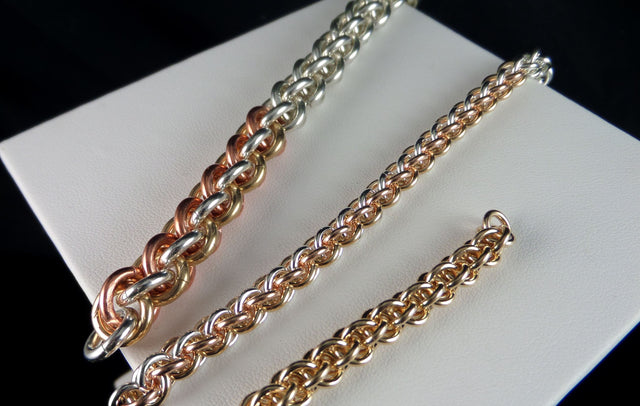
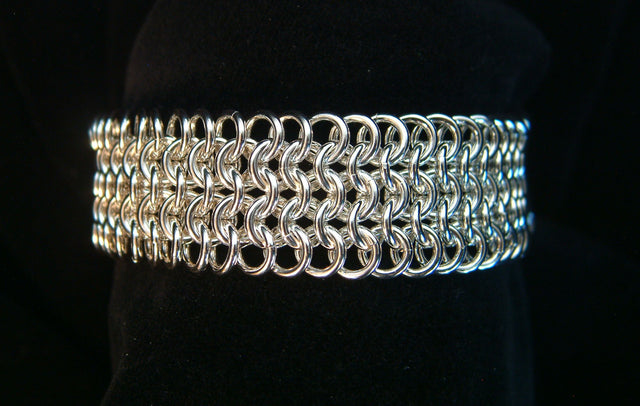
Barrel Weave Chainmaille Instructions
- Barrel Weave
- Beginning Weaves
- Chain Weave
- Earrings
- Weave
You'll need
- Jump rings with an aspect ratio of about 3.5: a Barrel Weave RD 18g Inchpack or another size from the ring chart below, one inchpack per inch of chain
- Two pairs of smooth-jawed jewelers’ pliers
- A twisty tie (or anything) to mark the top ring
- Opening and closing rings new to you? Read How to Make Chainmaille Jewelry first (free)
About this weave
Barrel Weave is a Beginning Weave, so you start from scratch: you don’t need to know any other weave first. It works best with rings of aspect ratio 3.5, the same ratio used for Byzantine, Byzantine Rose and Parallel Chain.
Segments and units
A unit is six rings and makes a single standalone piece, such as an earring. Chain is built from segments of five rings, plus one extra ring to finish the last segment.


The parts of a unit are the top ring, the left ring, the right ring, the paired rings in the center, and the bottom ring.
Weaving Barrel Weave
Before you start. Prepare your rings
Open at least 10 rings and close the same number. That’s enough for three segments.
Step 1. Scoop three rings
Scoop three closed rings onto an open ring, then close it.


Step 2. Find the top ring
Mark one ring with a twisty tie as the top ring and hold the chain by it. The middle ring is now the left ring, and the two dangling rings are the paired rings.

Step 3. Through the paired rings
Slip an open ring through the paired rings from the left.

Step 4. Hook the top ring
Pull the open ring to the right so the paired rings sit horizontally. Prop them up with your non-dominant thumb, slide the open ring to the left on top of the left ring, bunching the paired rings, and hook it through the top ring from the left.

Step 5. Close the right ring
Close the ring; it is now the right ring. Arrange the unit as shown.

Step 6. Add the bottom ring
Insert an open ring through the intersection at the bottom of the left and right rings, mirroring the top ring, and close it. You can add a charm before closing. If you’re making a single unit, it’s finished.

Step 7. Keep going for chain
To make chain, scoop two closed rings onto an open ring, add it to the bottom ring, close it, and repeat from step 3.

Orientation and spirals
The direction you insert rings matters. Inserting left to right puts the left ring beneath the right ring. Keep every segment the same way for an even chain, or alternate directions for a spiral look.


Ring sizes for Barrel Weave
These are the sizes we cut for Barrel Weave; each inchpack holds the rings for one inch of chain.
| Wire gauge (AWG) | Mandrel size | Rings per inch | Inchpack |
|---|---|---|---|
| 12g | 7.0mm | about 10 | Barrel Weave RD 12g Inchpack |
| 14g | 5.5mm | about 13 | Barrel Weave RD 14g Inchpack |
| 16g | 4.5mm | about 16 | Barrel Weave RD 16g Inchpack |
| 18g | 3.5mm | about 19 | Barrel Weave RD 18g Inchpack |
| 20g | 2.75mm | about 25 | Barrel Weave RD 20g Inchpack |
| 22g | 2.25mm | about 31 | Barrel Weave RD 22g Inchpack |
| 24g | 1.75mm | about 40 | Barrel Weave RD 24g Inchpack |
Tips
- Losing track of the top: keep the twisty tie on the top ring and always hold the work by it.
- Paired rings flopping: prop them horizontal with your non-dominant thumb while you slide the open ring over.
- Uneven look: check that you insert every ring from the same side, unless you want the spiral.
FAQ
Do I need to know another weave first?
No. Barrel Weave is a Beginning Weave, and you learn it from scratch with these instructions.
What’s the difference between a unit and a segment?
A unit is six rings and stands alone, as in an earring. Chain is made of five-ring segments, plus one extra ring to finish the last segment.
What aspect ratio works best?
3.5, the same as Byzantine, Byzantine Rose and Parallel Chain.
How do I make matching earrings?
Make two units and orient them in opposite directions so they mirror each other.
How do I get a spiral look?
Alternate the direction you insert rings from segment to segment.
© 2009 Urban Maille.